Drywall Taping Winnipeg
Expert Contractors for Your Home
In the world of home and business renovations, drywall plays a vital role, often unseen yet incredibly important to the overall aesthetic and structure of your space. Whether you're looking to create a cozy finished basement or a sleek office environment, having the right drywall installation service can make all the difference. But with so many options in Winnipeg, how do you choose the best one? In this article, we’ll explore top-notch drywall installation services, discuss what to look for when hiring professionals, and offer insights on maintaining quality throughout your project. Let's dive in and uncover how the right choices can lead to beautiful walls that stand the test of time!
Drywall Taping in Winnipeg
Drywall Taping in Winnipeg
When it comes to home renovations, one of the most overlooked yet vital aspects is drywall work. While many homeowners might think they can tackle it themselves, the truth is that achieving a professional finish requires experience and skill. You wouldn’t trust just anyone with a paint job, so why settle for less when it comes to your walls? Quality drywall taping and installation can dramatically improve the look of your space, not to mention prevent issues down the road. This article dives into everything you need to know about hiring expert drywall contractors in Winnipeg, how they can transform your home, and what to keep in mind during your next renovation project. Let's explore why investing in professional drywall services could be one of the best decisions you make for your home.
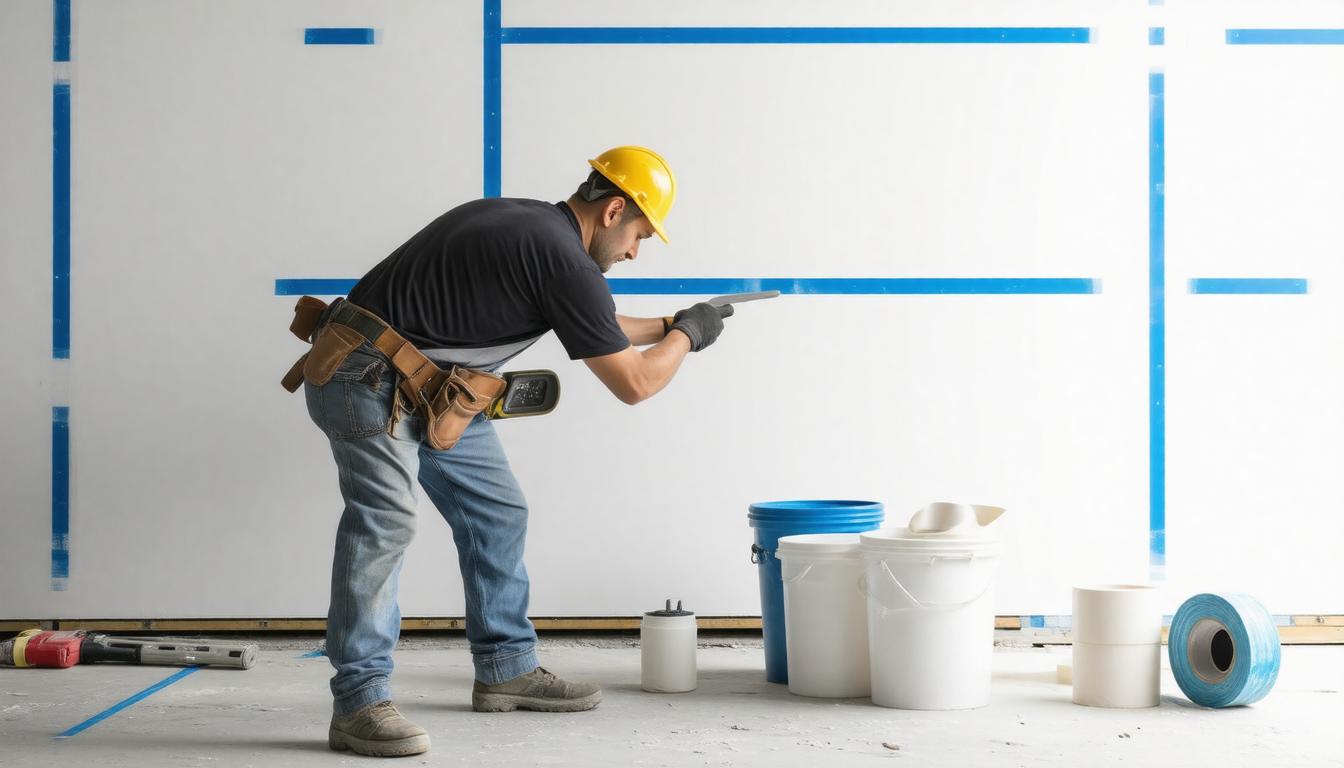
In Winnipeg, we offer professional drywall taping services that ensure a smooth and flawless finish for your walls and ceilings. Our team specializes in using high-quality materials and techniques, including tough drywall options, to deliver durable results that meet your renovation or construction needs.
Drywall Taping Services in Winnipeg
Drywall Taping Services in Winnipeg
Drywall taping is indeed an art form, transforming bare walls into finished canvases ready for paint or wallpaper. The precision and skill applied during this process will dictate how flawless your final result appears. It’s heartening to know that in Winnipeg, reputable contractors prioritize achieving that seamless finish you desire.
When it comes to drywall taping, quality matters immensely. Choosing a service provider means looking for those who not only possess technical expertise but also use top-notch materials. For instance, premium joint tape is essential as it ensures that your seams remain tightly sealed and are less prone to cracks over time. Likewise, selecting high-quality joint compound can significantly enhance the durability of the finish while preventing unsightly bubbling or peeling that often arises from inferior products.
Remember: Investing in quality materials today can save you money on repairs tomorrow.
As a homeowner contemplating renovations, consider this: professional services, like those offered by HV Drywall, will carry the credentials and experience necessary to execute high-standard work efficiently. According to a survey conducted by Winnipeg Home Services Review, an impressive 89% of clients expressed satisfaction with their drywall taping when done by certified professionals. This statistic speaks volumes about the peace of mind that comes along with hiring skilled experts; you can be confident that the job will be done right.
Furthermore, take it from Jane D., a delighted customer, who remarked, “The team was professional and quick. Our walls look flawless!” Her experience encapsulates what many homeowners hope for—a smooth process resulting in breathtaking results.
When hiring a drywall taping service in Winnipeg, prioritize those who bring both artistry and reliability to the table. You won’t just be paying for labor—you’ll be investing in your home’s aesthetic appeal and structural integrity for years to come.
With these considerations in mind, understanding advanced techniques in drywall installation can further elevate your project's outcome and ensure long-lasting quality.
Expert Drywall Installation Techniques
Expert Drywall Installation Techniques
Expert drywall installation techniques are vital for producing durable walls that can withstand everyday wear and tear. With the right strategies in place, you create not just a layer of warmth and insulation but also a strong foundation for your home’s aesthetic. Good installation isn't merely about getting the sheets on the wall; it establishes the long-term integrity of your entire structure.
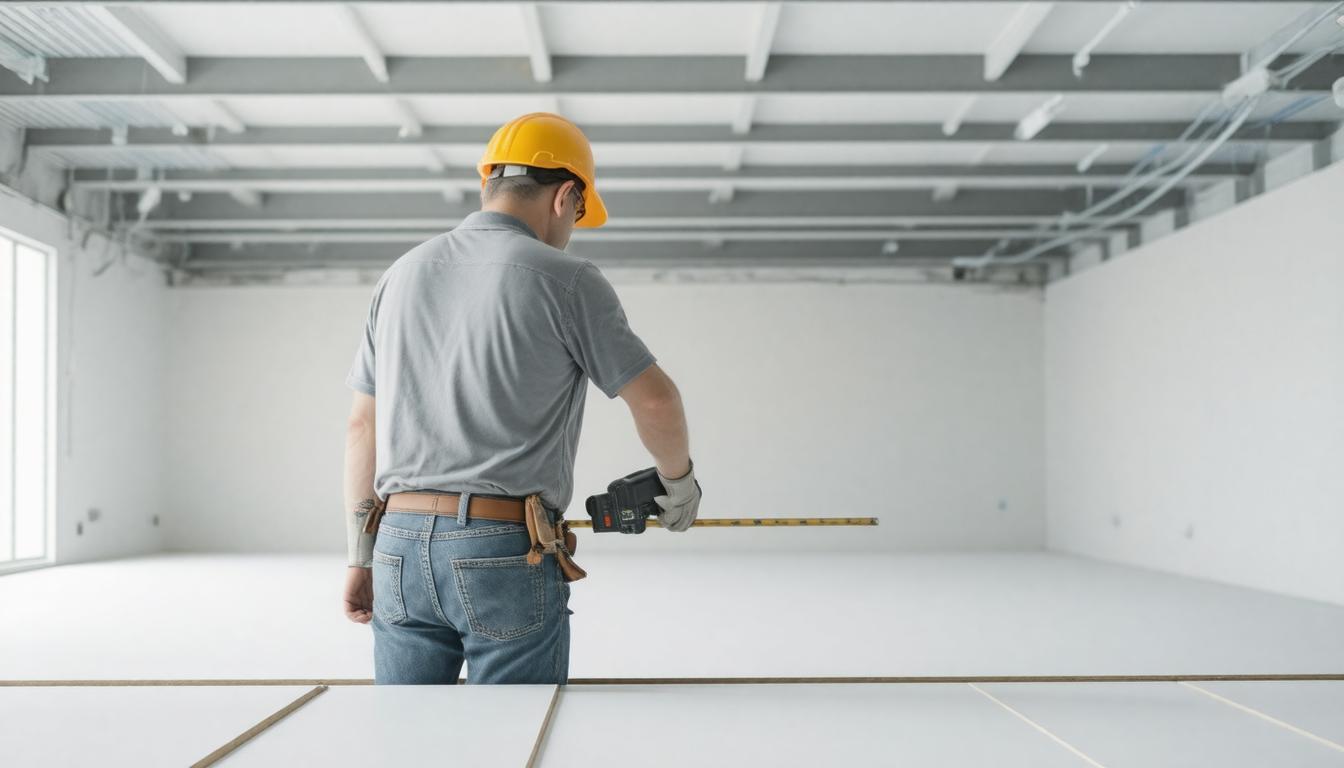
Step I - Measuring and Cutting
The importance of proper measurement and precise cutting cannot be overstated. When I’m on a job site, I always emphasize that this initial step reduces waste significantly and ensures that each piece fits snugly into its designated area. The trick lies in using high-quality measuring tools like a laser level or tape measure, which can help eliminate common errors associated with manual checks. Remember to add an extra inch to your dimensions if you’re working with irregular spaces—this gives you room to adjust without having to cut again.
But remember, measuring accurately is only half the battle; cutting the drywall correctly is equally essential.
Step II - Securing Drywall Panels
Once you've cut the drywall panels, they need to be secured tightly against the wall studs. Secure attachment is crucial, and I always recommend using drywall screws over nails due to their superior holding power. When placing your screws, aim for spacing them 12–16 inches apart. This keeps each panel stable and minimizes excessive movement. However, take care not to over-secure; embedding screws too deep can lead to unsightly dents or cracking of the drywall surface. An insider tip? When driving screws in, keep an eye out for any paper tearing at the back side—this is a sure sign that you've pressed too hard.
After affixing your panels securely, the next step requires you to take a careful look around.
Step III - Checking for Gaps
During installation, it's essential to consistently check for any gaps between drywall panels. These gaps can compromise the smooth finish you’re aiming for and may even affect insulation performance down the line. For filling these imperfections, I recommend using a joint compound and tape. Applying this thoughtfully creates not just a seamless look but also reinforces the structural integrity of the joints between sheets. When spreading joint compound, less is more; apply thin layers and build up rather than trying to make it perfect in one go. Patience is key here!
Each step in the drywall installation process builds on the previous one, demonstrating that expert techniques do not merely produce good results—they cultivate craftsmanship and pride in your work.
As these foundational methods lay the groundwork for success, attention now shifts towards refining those efforts through finishing touches that elevate quality and aesthetics.
Achieving a Smooth Finish for Drywall Service
Achieving a Smooth Finish for Drywall Service
The quest for a smooth drywall surface is often where many DIYers stumble, but mastering some simple techniques can elevate your work to a professional level. It begins with the right tools, ensuring you have quality sanding sponges and knives at your disposal. This attention to detail lays the groundwork for an exceptional finish that not only looks great but also enhances the overall aesthetics of any room.
Sanding Techniques
Proper sanding is crucial in the journey to achieving that immaculate result. Using a fine-grit sanding sponge or a pole sander allows skilled artisans to work in circular motions, which helps evenly smooth the surface without creating unsightly grooves or depressions.
It's essential to keep the sander flat against the wall, applying light pressure to avoid over-sanding, which can create dips in the surface. A tip I have found helpful is to always start with a clean area; dust can easily settle back onto freshly sanded surfaces, leading to imperfections.
Feathering Joint Compound
Another critical step in achieving a seamless appearance lies in feathering out the edges of joint compound. When using a wide drywall knife, professionals gently extend the compound beyond the seams onto adjacent panels. This technique blends the seams into the surrounding drywall more fluidly, resulting in almost invisible joints.
Think of it like icing a cake—smooth transitions make all the difference in presentation. In my experience, it's best to work in thin layers, as thicker applications require significantly more sanding and often lead to those paltry defect results.
Interesting data from a study conducted by the Drywall Institute reveals that 95% of visible seam defects stem from improper sanding and feathering techniques. This statistic emphasizes just how important these steps are; they can literally transform your project from mediocre to magnificent.
Mastering these techniques not only enhances your craftsmanship but also sets you up for success as you continue refining your skills and understanding of drywall installation. Let's explore practical strategies for perfecting specific details in your project.
Corner and Seam Drywall Taping Tips
Corner and Seam Drywall Taping Tips
Corners and seams often present the most challenging aspects of drywall taping. Mastering these areas is essential for achieving both structural integrity and aesthetic appeal. When you effectively tape corners and seams, you're not just covering joints; you're reinforcing your walls against future damage while creating a polished look that any homeowner would be proud of.
Using Corner Beads
Let’s start with corner beads, which are critical for protecting the edges of drywall. Applying either metal or paper-faced corner beads is an investment in durability. These products create a strong edge that resists impacts and provides a crisp, clean line that enhances your all-important corner joints.
When placing the corner bead, ensure it’s properly aligned with the edge of the drywall. Use the correct fastening method—nails or screws—depending on your wall surface for optimal stability.
Remember: A securely fastened corner bead aids in preventing movement which could lead to cracking over time.
Once you've installed your corner bead, the next step is to cover it seamlessly with joint compound. Apply a thin layer over the bead, pressing firmly enough to embed it but not so much that you displace it from its perfect position. This careful application helps provide a smooth finish as you continue with further layers.
Taping Off Seams
Moving on to taping off seams, this step is equally important for maintaining the integrity of your drywall installation. Using fiberglass mesh tape instead of traditional paper tape can offer advantages. The fiberglass tape adheres well and is less prone to tearing or wrinkling during application, reducing headaches later on when applying joint compound.
To begin taping seams, first ensure that your drywall edges are smooth and free from dust or debris which can prevent adhesion. As you apply the mesh tape, I recommend pressing it firmly into place using a taping knife to eliminate air bubbles and ensure complete contact with the joint compound beneath.
Quick Tip
One valuable trick I’ve discovered over the years is to start applying your tape from the ceiling downwards. By doing this, you minimize bubbles or creases forming under the tape because gravity gently pulls it down into place.
After securing your tape, let it set properly before applying joint compound over it. Start with a thin layer and gradually build up additional coats as necessary to achieve flatness and conceal any texture differences. The goal here is not only to cover the seams but also create a uniform surface across your drywall area.
Attention to these details regarding corners and seams will greatly enhance both the appearance and longevity of your drywall work. Following this meticulous process ensures that each component strengthens the overall installation, setting the stage for an examination of materials that can further elevate your projects.
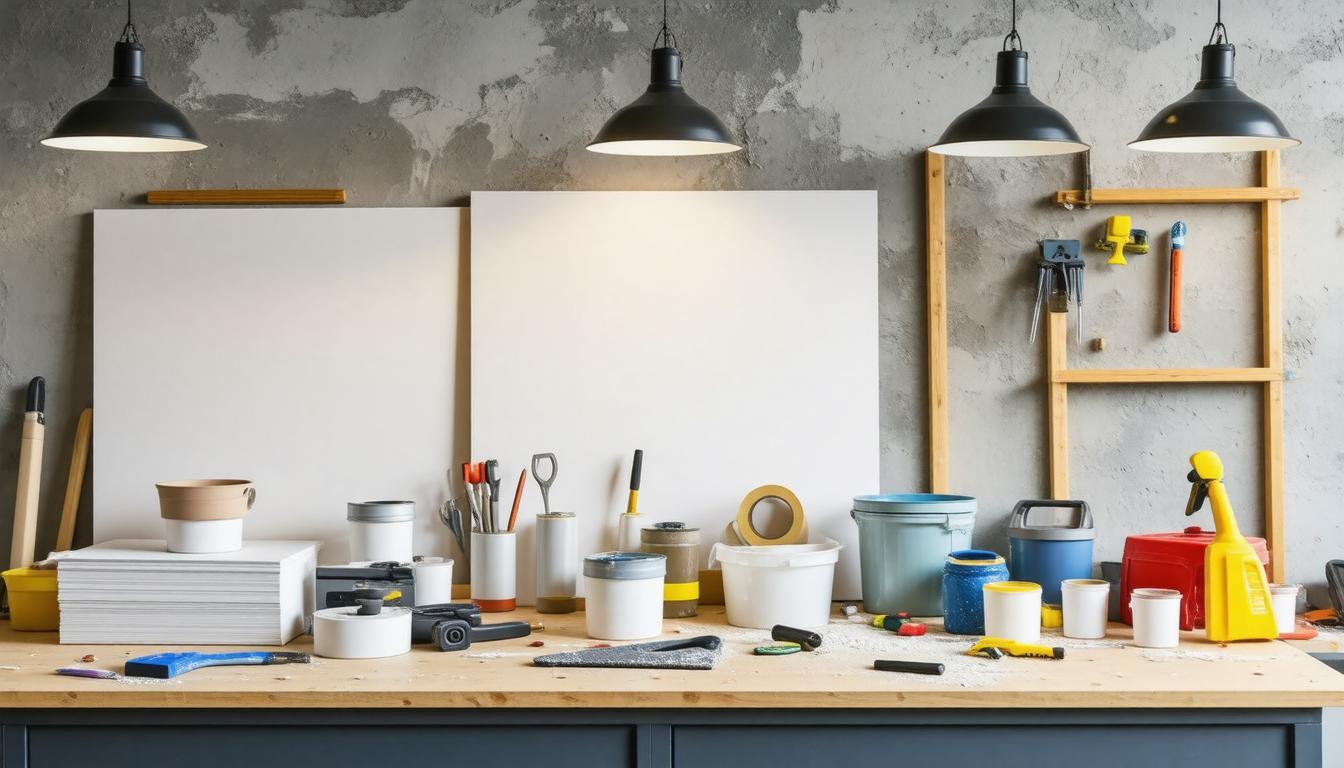
Top Materials for Drywall Taping Projects
The quality of materials used in drywall installations is essential for both aesthetics and longevity. For instance, when selecting drywall panels, opting for gypsum boards specifically designed with moisture and mold resistance can make a world of difference. These special boards are particularly invaluable in high-humidity areas such as bathrooms and kitchens because they help prevent warping and structural issues over time. Trust me; no one wants to deal with a crumbling wall due to mold damage.
When you choose gypsum boards, consider those with fire-resistant properties if your project may require it. These boards won't just add durability but also precious minutes in case of a fire incident, providing peace of mind alongside functionality.
Speaking of vital materials, let’s talk about joint compounds and tape.
Joint Compounds and Tape
A recent survey by the Home Builders Association indicates that a remarkable 70% of professionals prefer all-purpose joint compounds. This preference primarily stems from their versatility and ease of use for various applications like seam finishing, patching, and texturing. An all-purpose joint compound will streamline your work process, saving you time during installation while ensuring that surfaces are smooth and ready for painting.
When it comes to tapes, choosing between paper and fiberglass mesh can sometimes feel overwhelming. Paper tapes offer a smooth finish, while fiberglass mesh provides strength and better tear resistance, especially in high-movement areas. I often encourage using mesh tape for corners or joints that see more wear-and-tear; its resilience can really pay off in the long term.
After discussing joint compounds and tapes, another pivotal decision arises: should you choose drywall screws or nails?
Drywall Screws or Nails?
In the realm of fastening drywall, drywall screws undeniably emerge as the preferred choice over nails—and there are solid reasons for this preference. Drywall screws provide superior holding power due to their coarse threads; they grip the material tightly without risking withdrawal over time. Nails might save some initial effort during installation, but they have a notorious reputation for popping out later on, which can lead to unsightly blemishes on your walls.
Utilizing screws not only contributes to a stronger hold but also minimizes the potential for problems down the line—an investment worth making for any homeowner or contractor serious about craftsmanship.
| Material | Recommendation | Typical Use |
|---|---|---|
| Gypsum Boards | Mold/Moisture Resistant | Bathrooms, Kitchens |
| Joint Compounds | All-Purpose | Seams, Repairs |
| Drywall Screws | Coarse-threaded | Wall Studs |
This table summarizes key recommendations you should consider when embarking on your drywall project. By investing some thought into these selections, you're laying a solid foundation for beautiful results that will endure the test of time.
As we explore further into how to select the right fit for your needs, we’ll shift our focus to finding reliable experts who can elevate your projects to the next level.
Choosing a Trusted Drywall Contractor
Selecting a reliable contractor is crucial for ensuring your drywall project meets the highest standards. A well-chosen contractor not only brings expertise to the table but also assures you that your investment will yield satisfying results without unnecessary headaches.
Check Credentials
Start by verifying the contractor's credentials. This includes confirming their licensing and ensuring they have adequate insurance coverage. A licensed contractor demonstrates their commitment to meeting industry standards, while insurance protects you from potential liability issues that may arise during the execution of the project. When a worker gets injured or property gets damaged, you'll want to feel secure knowing you won’t be held liable.
Not all licenses are created equal; it’s worth taking the time to understand what local regulations say regarding drywall installation in your area. Depending on where you live, certain certifications can make a notable difference in the quality of work you receive.
Read Reviews and Ask for References
After confirming their credentials, it's important to investigate their previous work. Reading customer reviews provides valuable insights into the contractor's reliability and quality of service. Look at reviews on multiple platforms, such as Google and Yelp, and pay attention to recurring themes in feedback—both positive and negative.
Don't hesitate to ask for references directly from the contractor. Speaking with past clients can illuminate their experiences and help clarify any doubts. If possible, visit some of their completed projects in person; seeing their work firsthand can significantly influence your decision.
Get Multiple Quotes
One common mistake homeowners make is settling on the first contractor they meet. Any savvy consumer knows that obtaining at least three quotes is a best practice in today’s market. Beyond just comparison shopping on price, each quote should give you an understanding of the services included in the fee. A contractor who offers an unusually low rate may cut corners that ultimately lead to dissatisfaction later on.
During these consultations, don’t shy away from asking detailed questions about their approach and cleaning processes post-installation. The answers will help you gauge not only their professionalism but also how thoroughly they plan to execute your project.
By checking credentials, investigating reviews, and comparing quotes, you empower yourself as a homeowner to make an informed decision about which drywall contractor to hire for your upcoming project. This knowledge will lead smoothly into understanding the substantial advantages that come with engaging qualified professionals for home improvement tasks.
Benefits of Professional Drywall Services
Benefits of Professional Drywall Services
Hiring professional drywall services can indeed be more beneficial than taking the DIY route for several compelling reasons.
1. Expertise and Experience
One of the greatest advantages professionals bring to the job is their expertise and experience. They have honed their skills over years of practice, allowing them to execute projects with unparalleled precision. This experience means they know how to handle unforeseen issues—such as discovering water damage behind drywall or structural problems—without compromising the integrity of your walls. They not only understand the nuances of hanging and finishing drywall but also recognize how to achieve a flawless look that enhances your home's aesthetic appeal.
2. Time-Saving
Another clear benefit is time efficiency. Professionals complete projects faster and more effectively than the average homeowner could on their own. Rather than spending your weekends wrestling with tools and materials, experienced contractors can typically finish a job in a fraction of the time. Their familiarity with the work process ensures that every part of the drywall installation or repair happens smoothly and swiftly, freeing you up to focus on other important aspects of your life.
3. Long-lasting Results
Furthermore, professionally installed drywall tends to last longer than amateur efforts—which is certainly worth considering. According to a report by Home Improvement Research, professional drywall installations last 45% longer compared to those done by inexperienced hands. This longevity not only saves you from having to revisit the project for repairs sooner than expected but also enhances your overall investment by increasing your home’s value in the long term.
4. Warranty and Guarantees
An additional layer of reassurance comes with many professional services offering warranties or guarantees on their work. This promise provides peace of mind regarding the longevity and quality of the finished project. Should any issues arise after installation, you can rest assured knowing that a qualified expert will handle repairs without additional costs, which can save homeowners both money and frustration down the line.
Investing in professional drywall services not only assures high-quality workmanship but also brings a host of benefits that make it a wise choice for homeowners looking for durability and aesthetics in their living spaces, ensuring peace of mind for years to come.